Segments
Overview
Segments is a feature that enables internal users to define dynamic, behavior-driven customer cohorts for targeting promotional workflows. Segments operate within a compliant, first-party data customer data platform (CDP).
Functioning as the building blocks of a promotion, Segments equip users to run multiple campaigns targeting the same customer group, track campaign progress, and glean targeted insights through campaign analytics.
Each segment is comprised by customers that meet a specific, predetermined set of criteria. Users can develop a segment based on any customer attribute including behavioral or account activity, tags, product holdings, and derived traits.
Creating a Segment
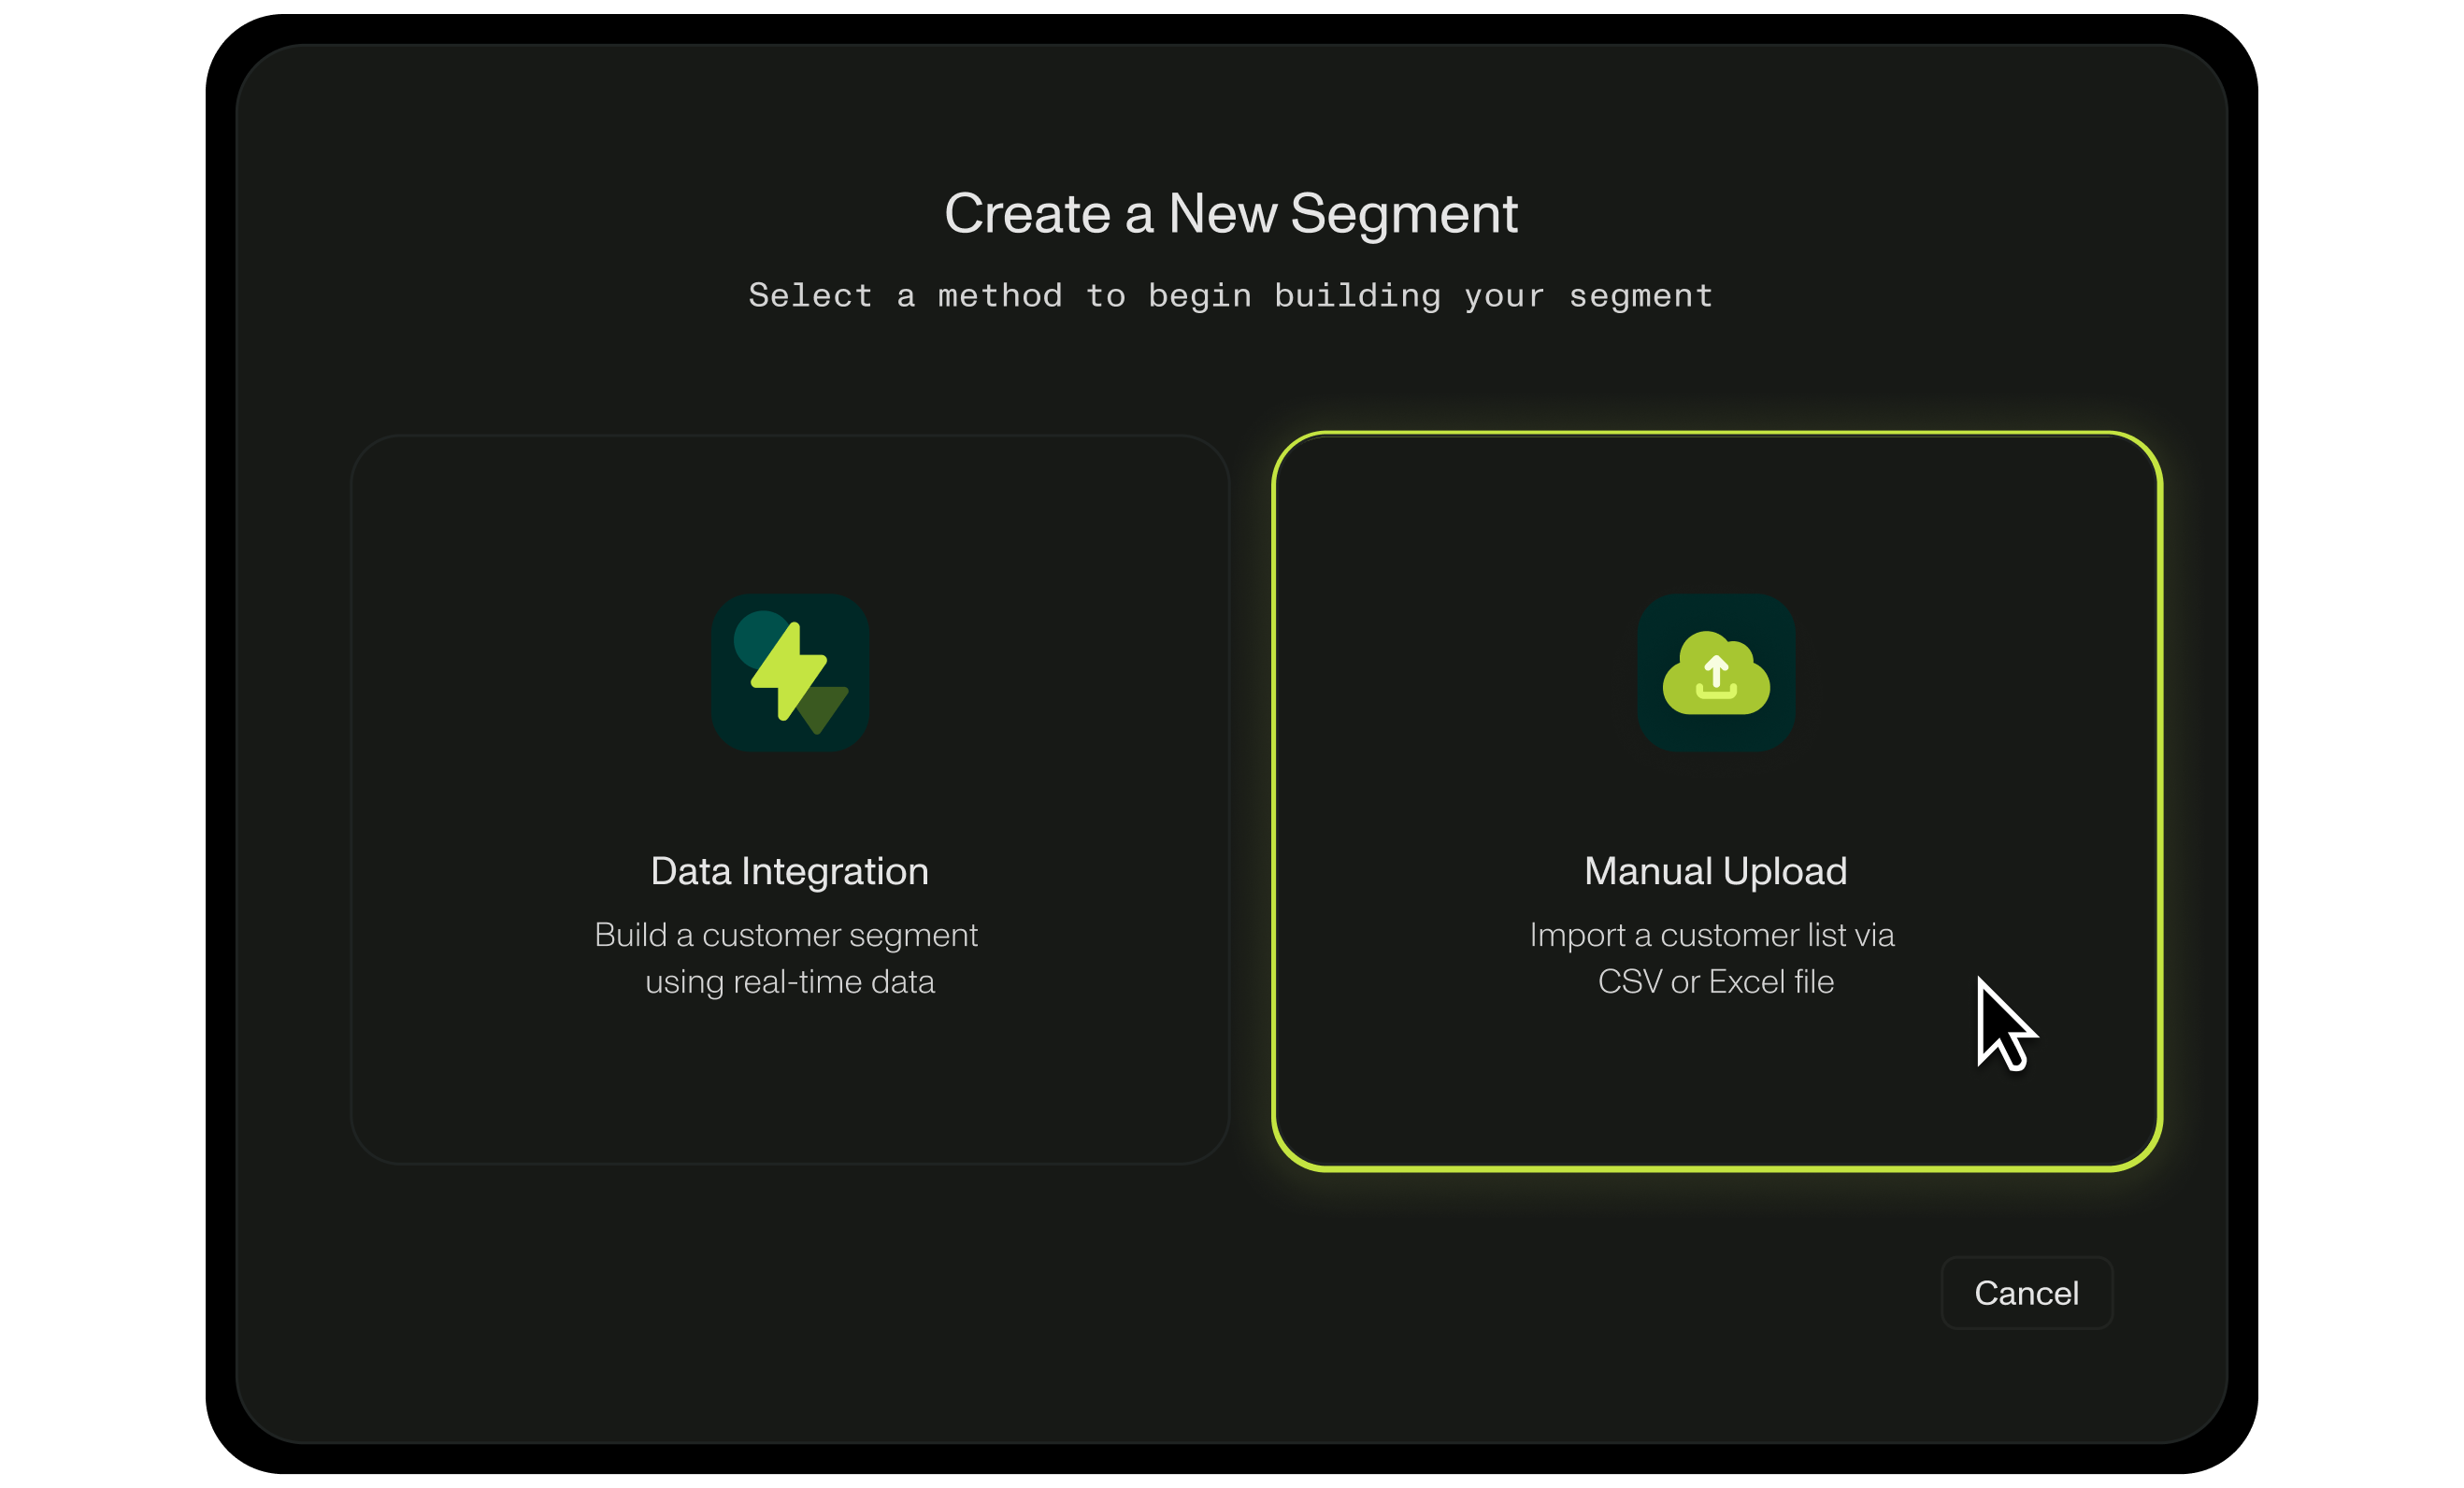
There are two sources from which you can create a Segment:
- Manual Upload: Manual Upload indicates that the conditions of the segment have been previously selected from an external data source. The promotion engine can run campaigns and parse data from a pre-existing list. Simply import this list by uploading a CSV or Excel file.
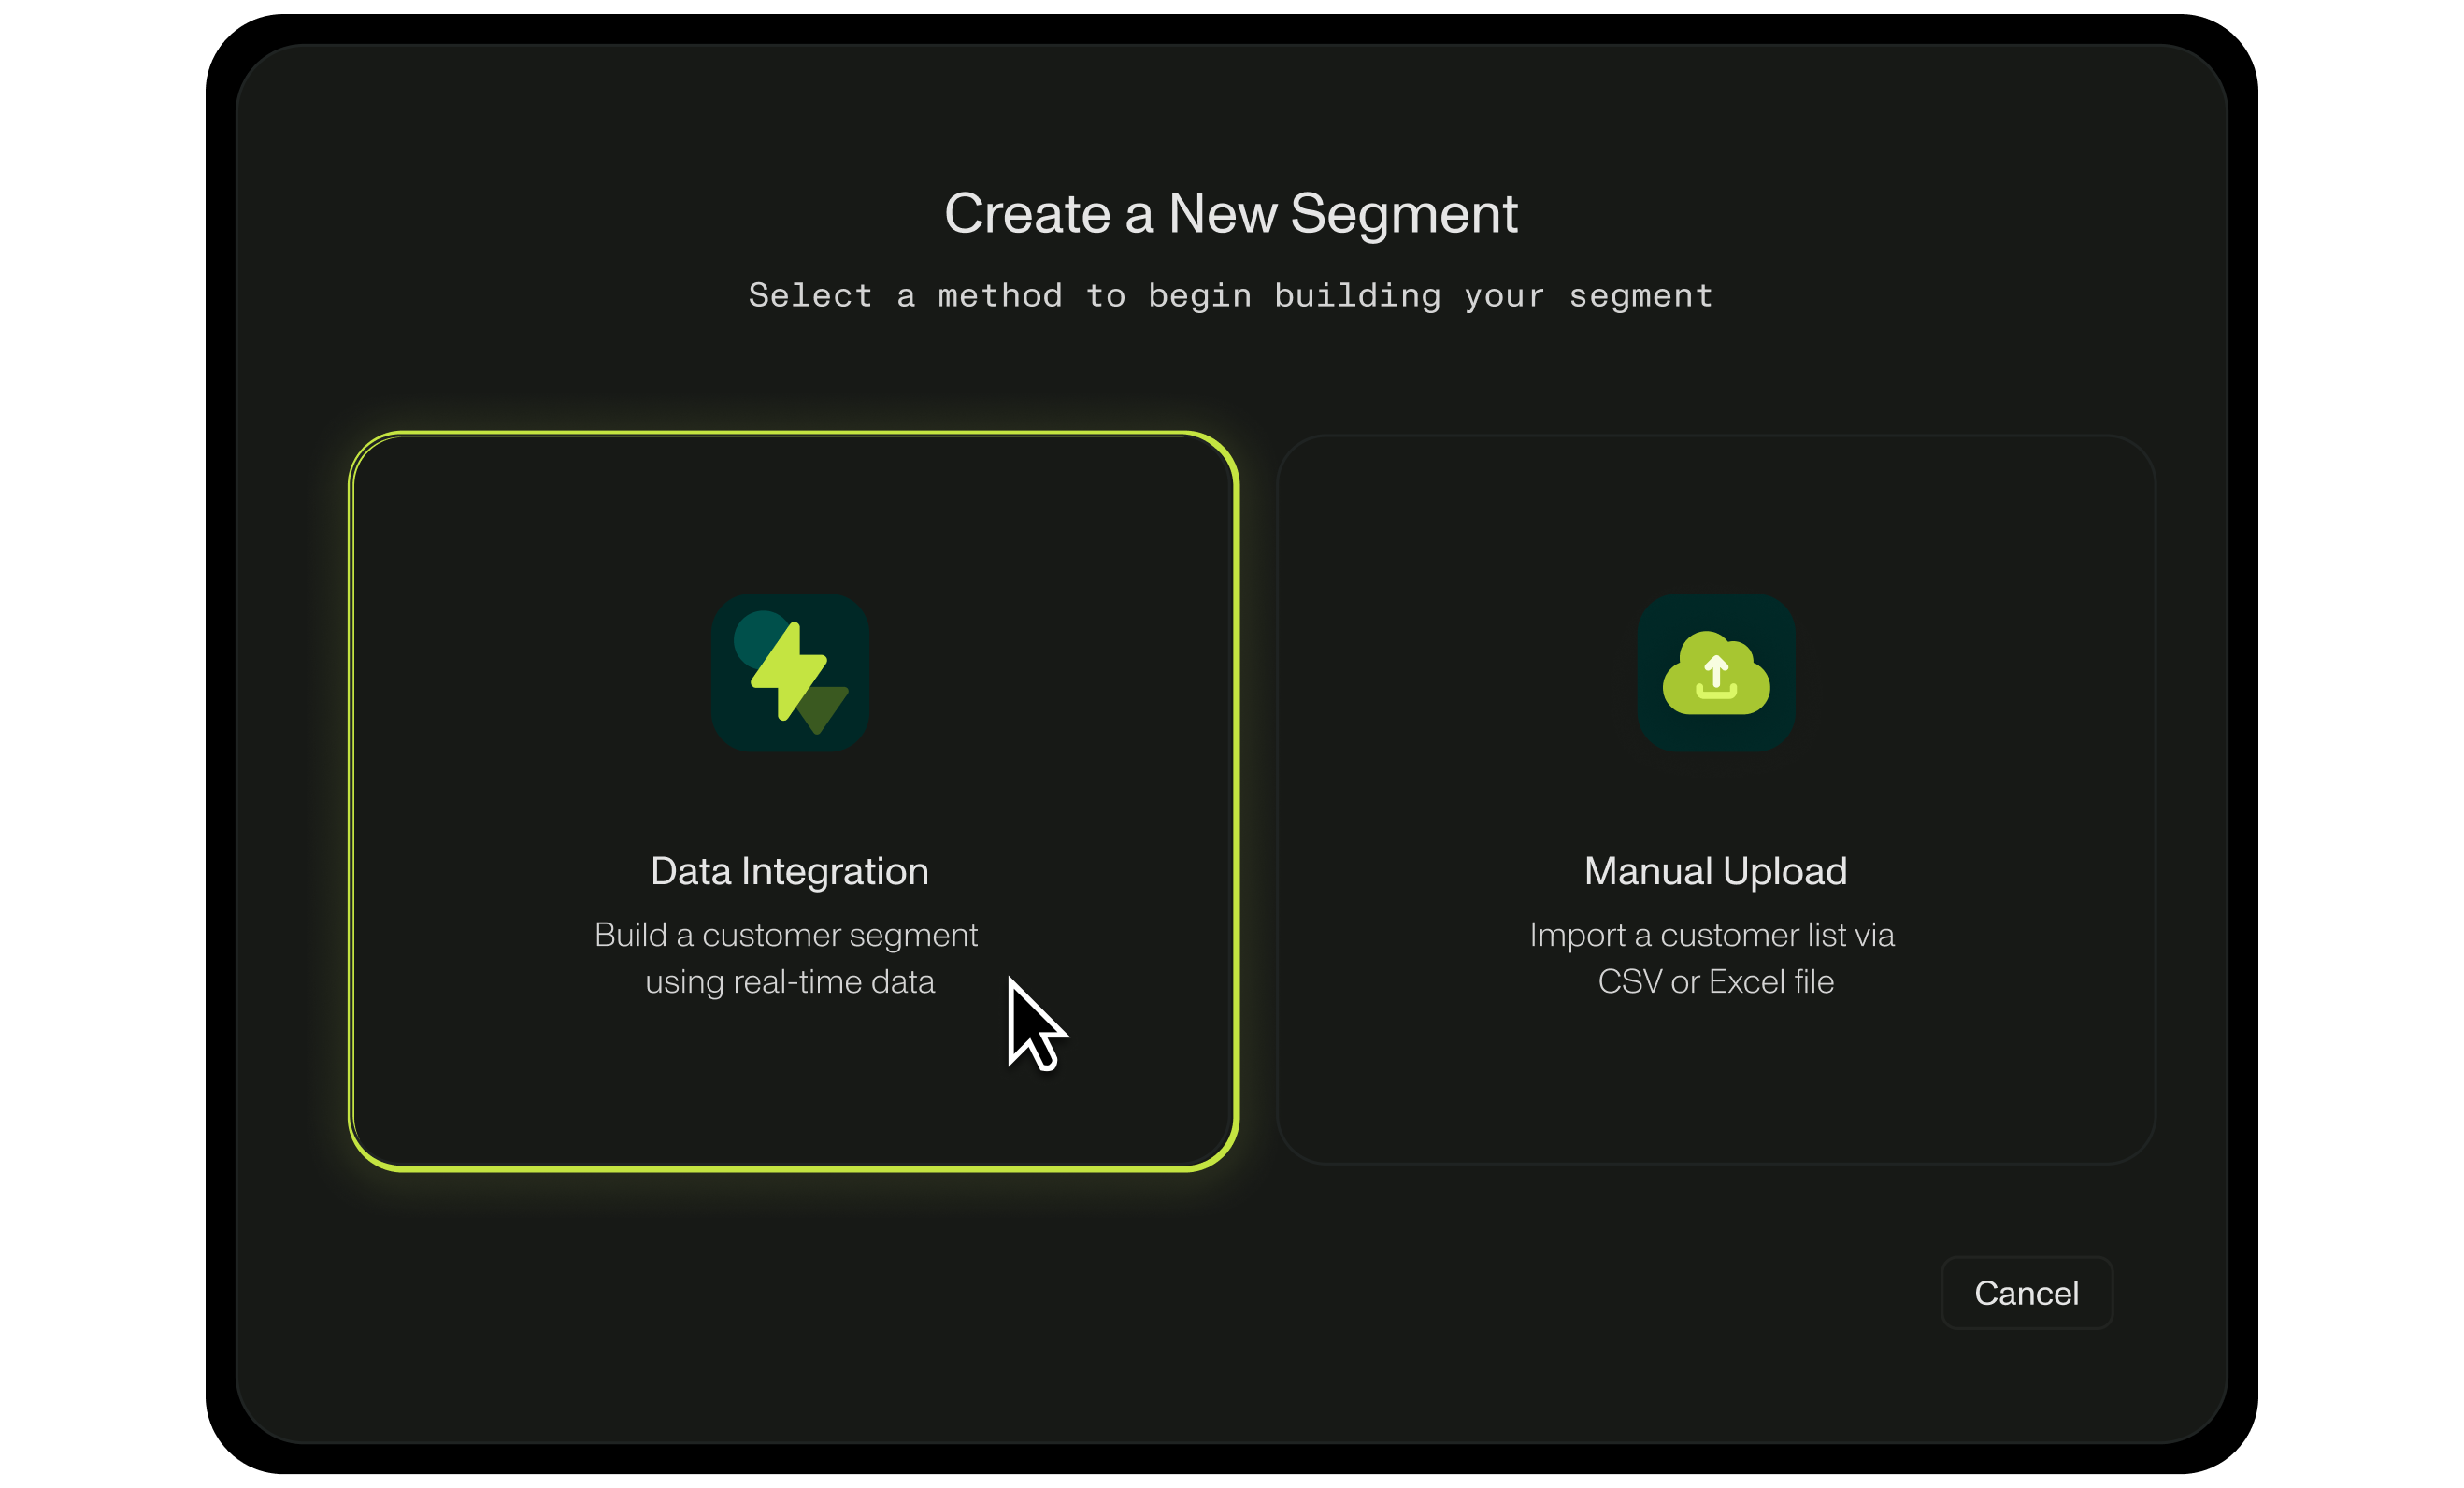
- Data Integration: Connect to your institution’s data lake or data warehouse.
Creating a Segment: Manual Upload
To create a segment by manually uploading a file:
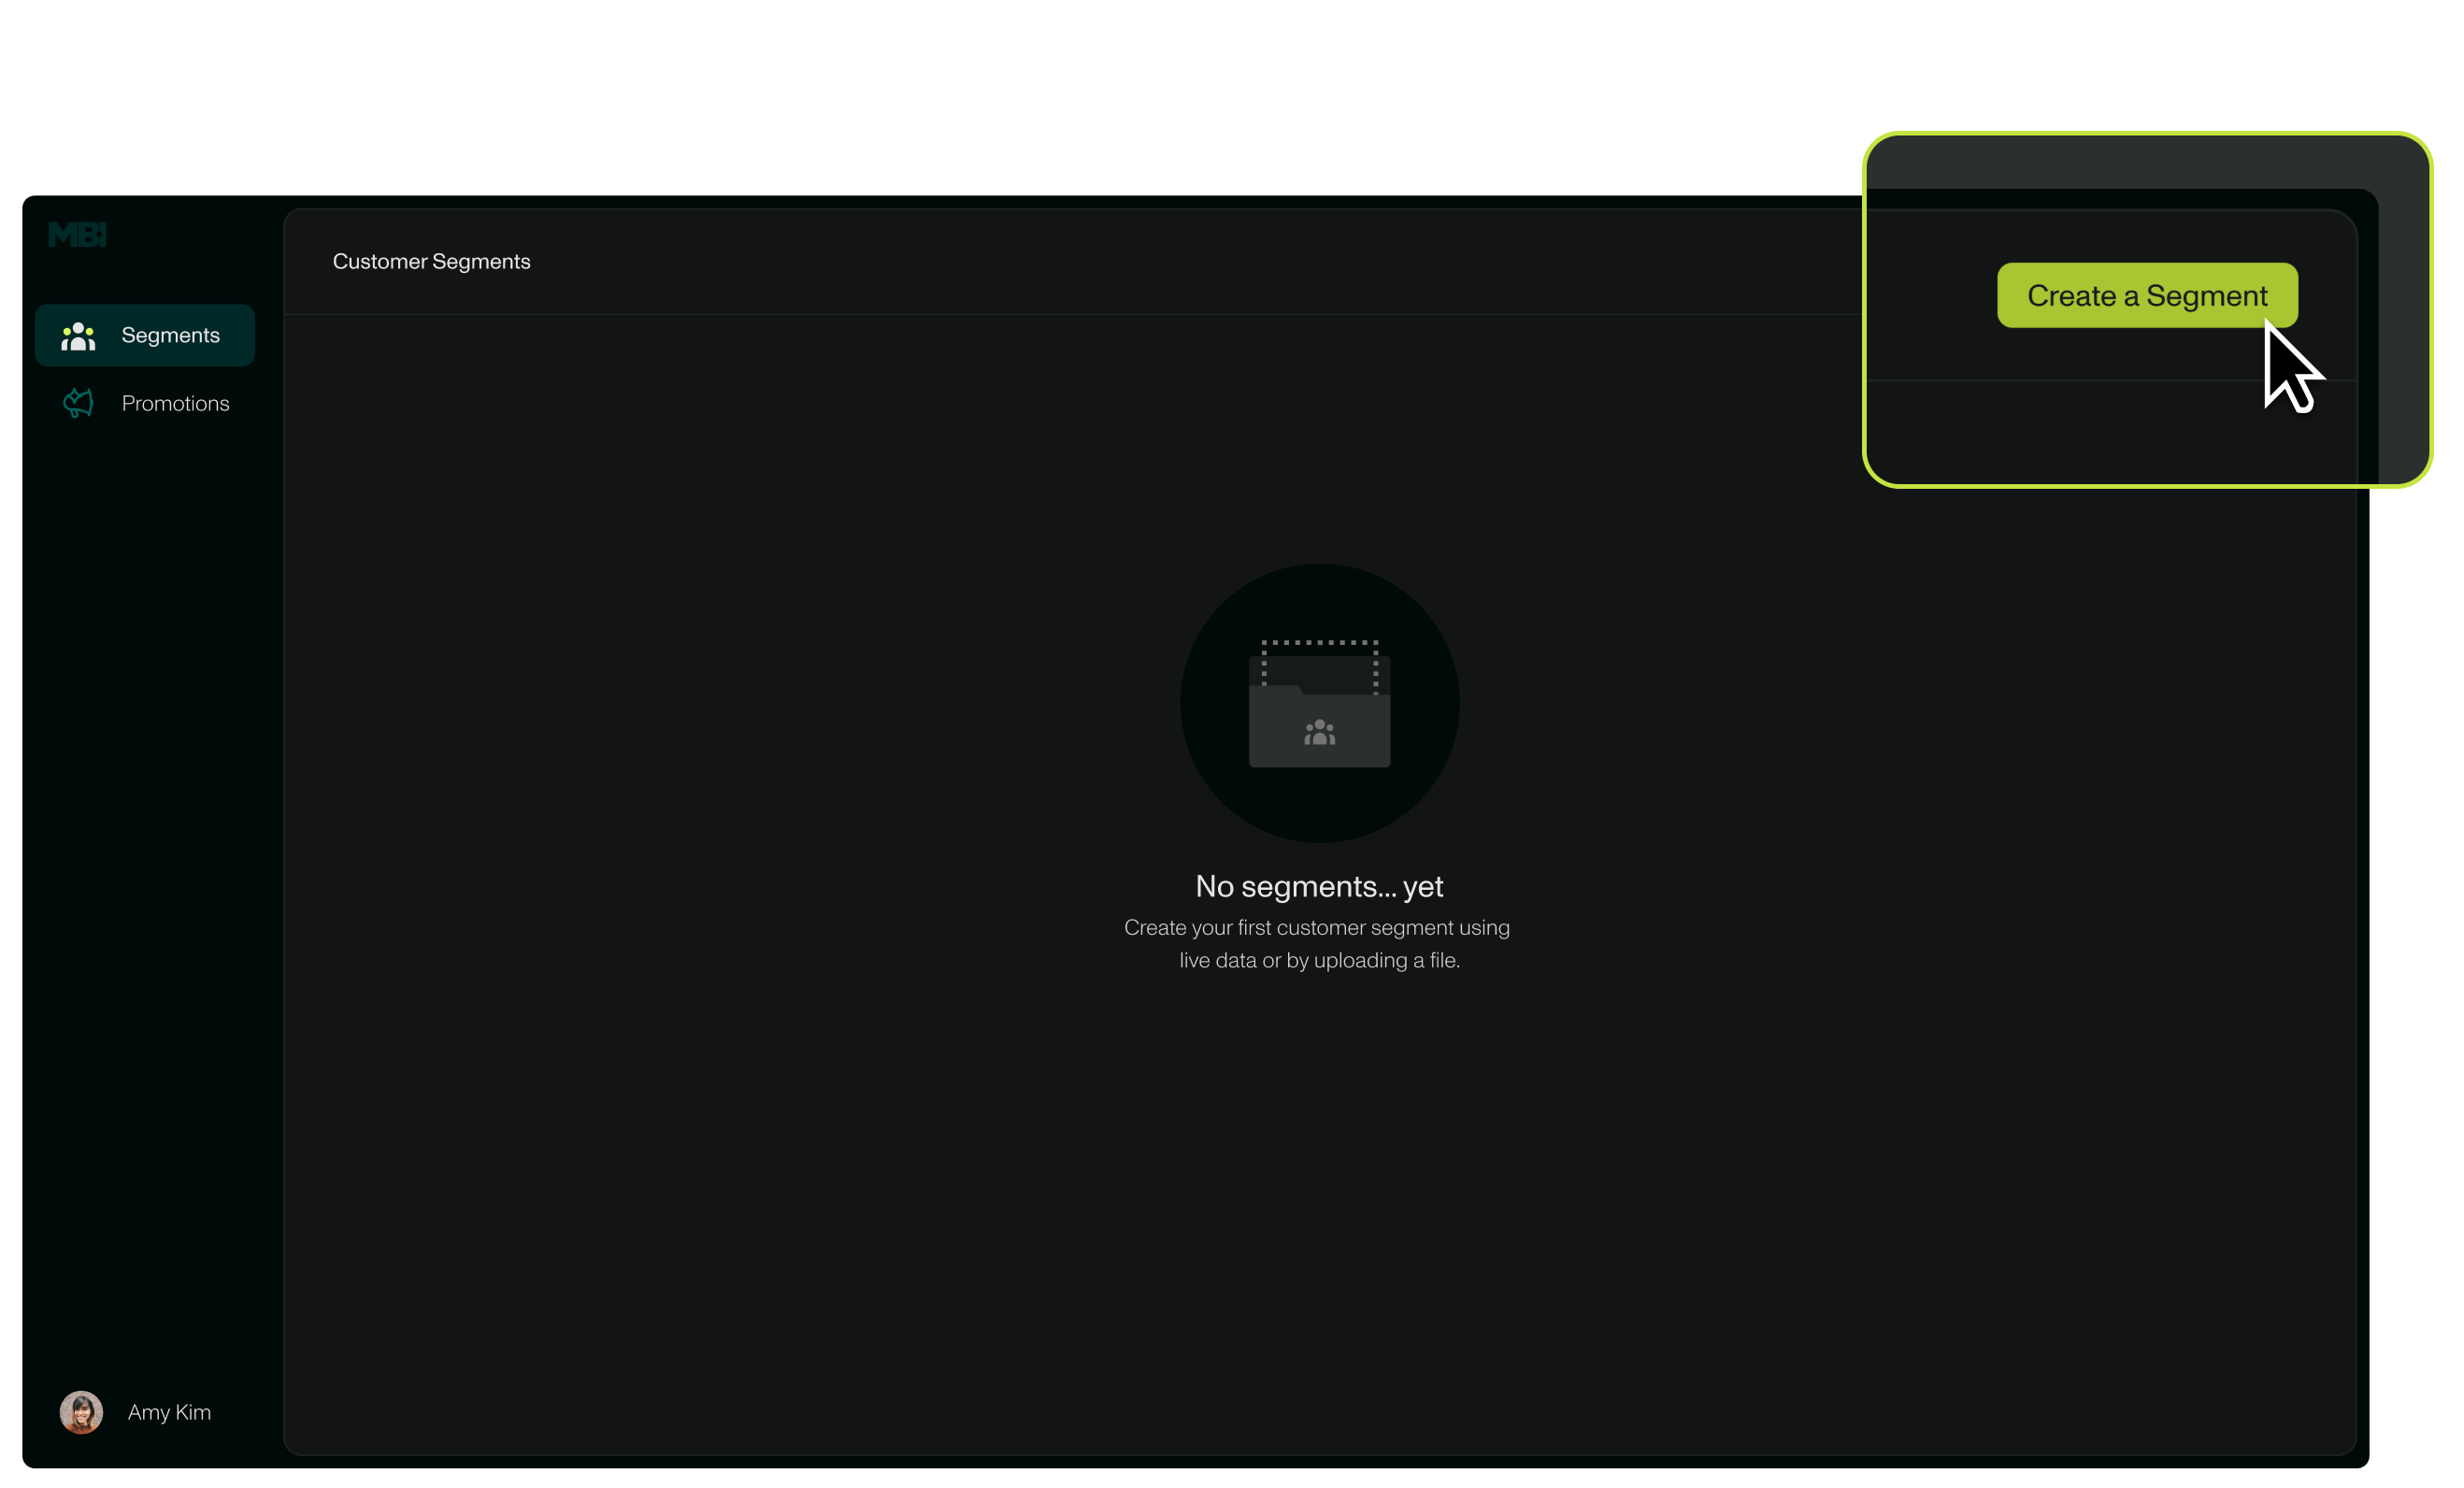
- Navigate to the Segments page on the left-hand menu.
- Click the green Create a Segment button on the top right-hand corner of the page.
- Choose Manual Upload; follow the subsequent steps to upload a file.
- Follow the steps in the modal to create or select a tag that will be applied to the file.
Creating a Segment: Data Integration
To create a segment via Data Integration:
- Navigate to the Segments page on the left-hand menu.
- Click the green *Create a Segment *button on the top right-hand corner of the page.
- Choose Data Integration.
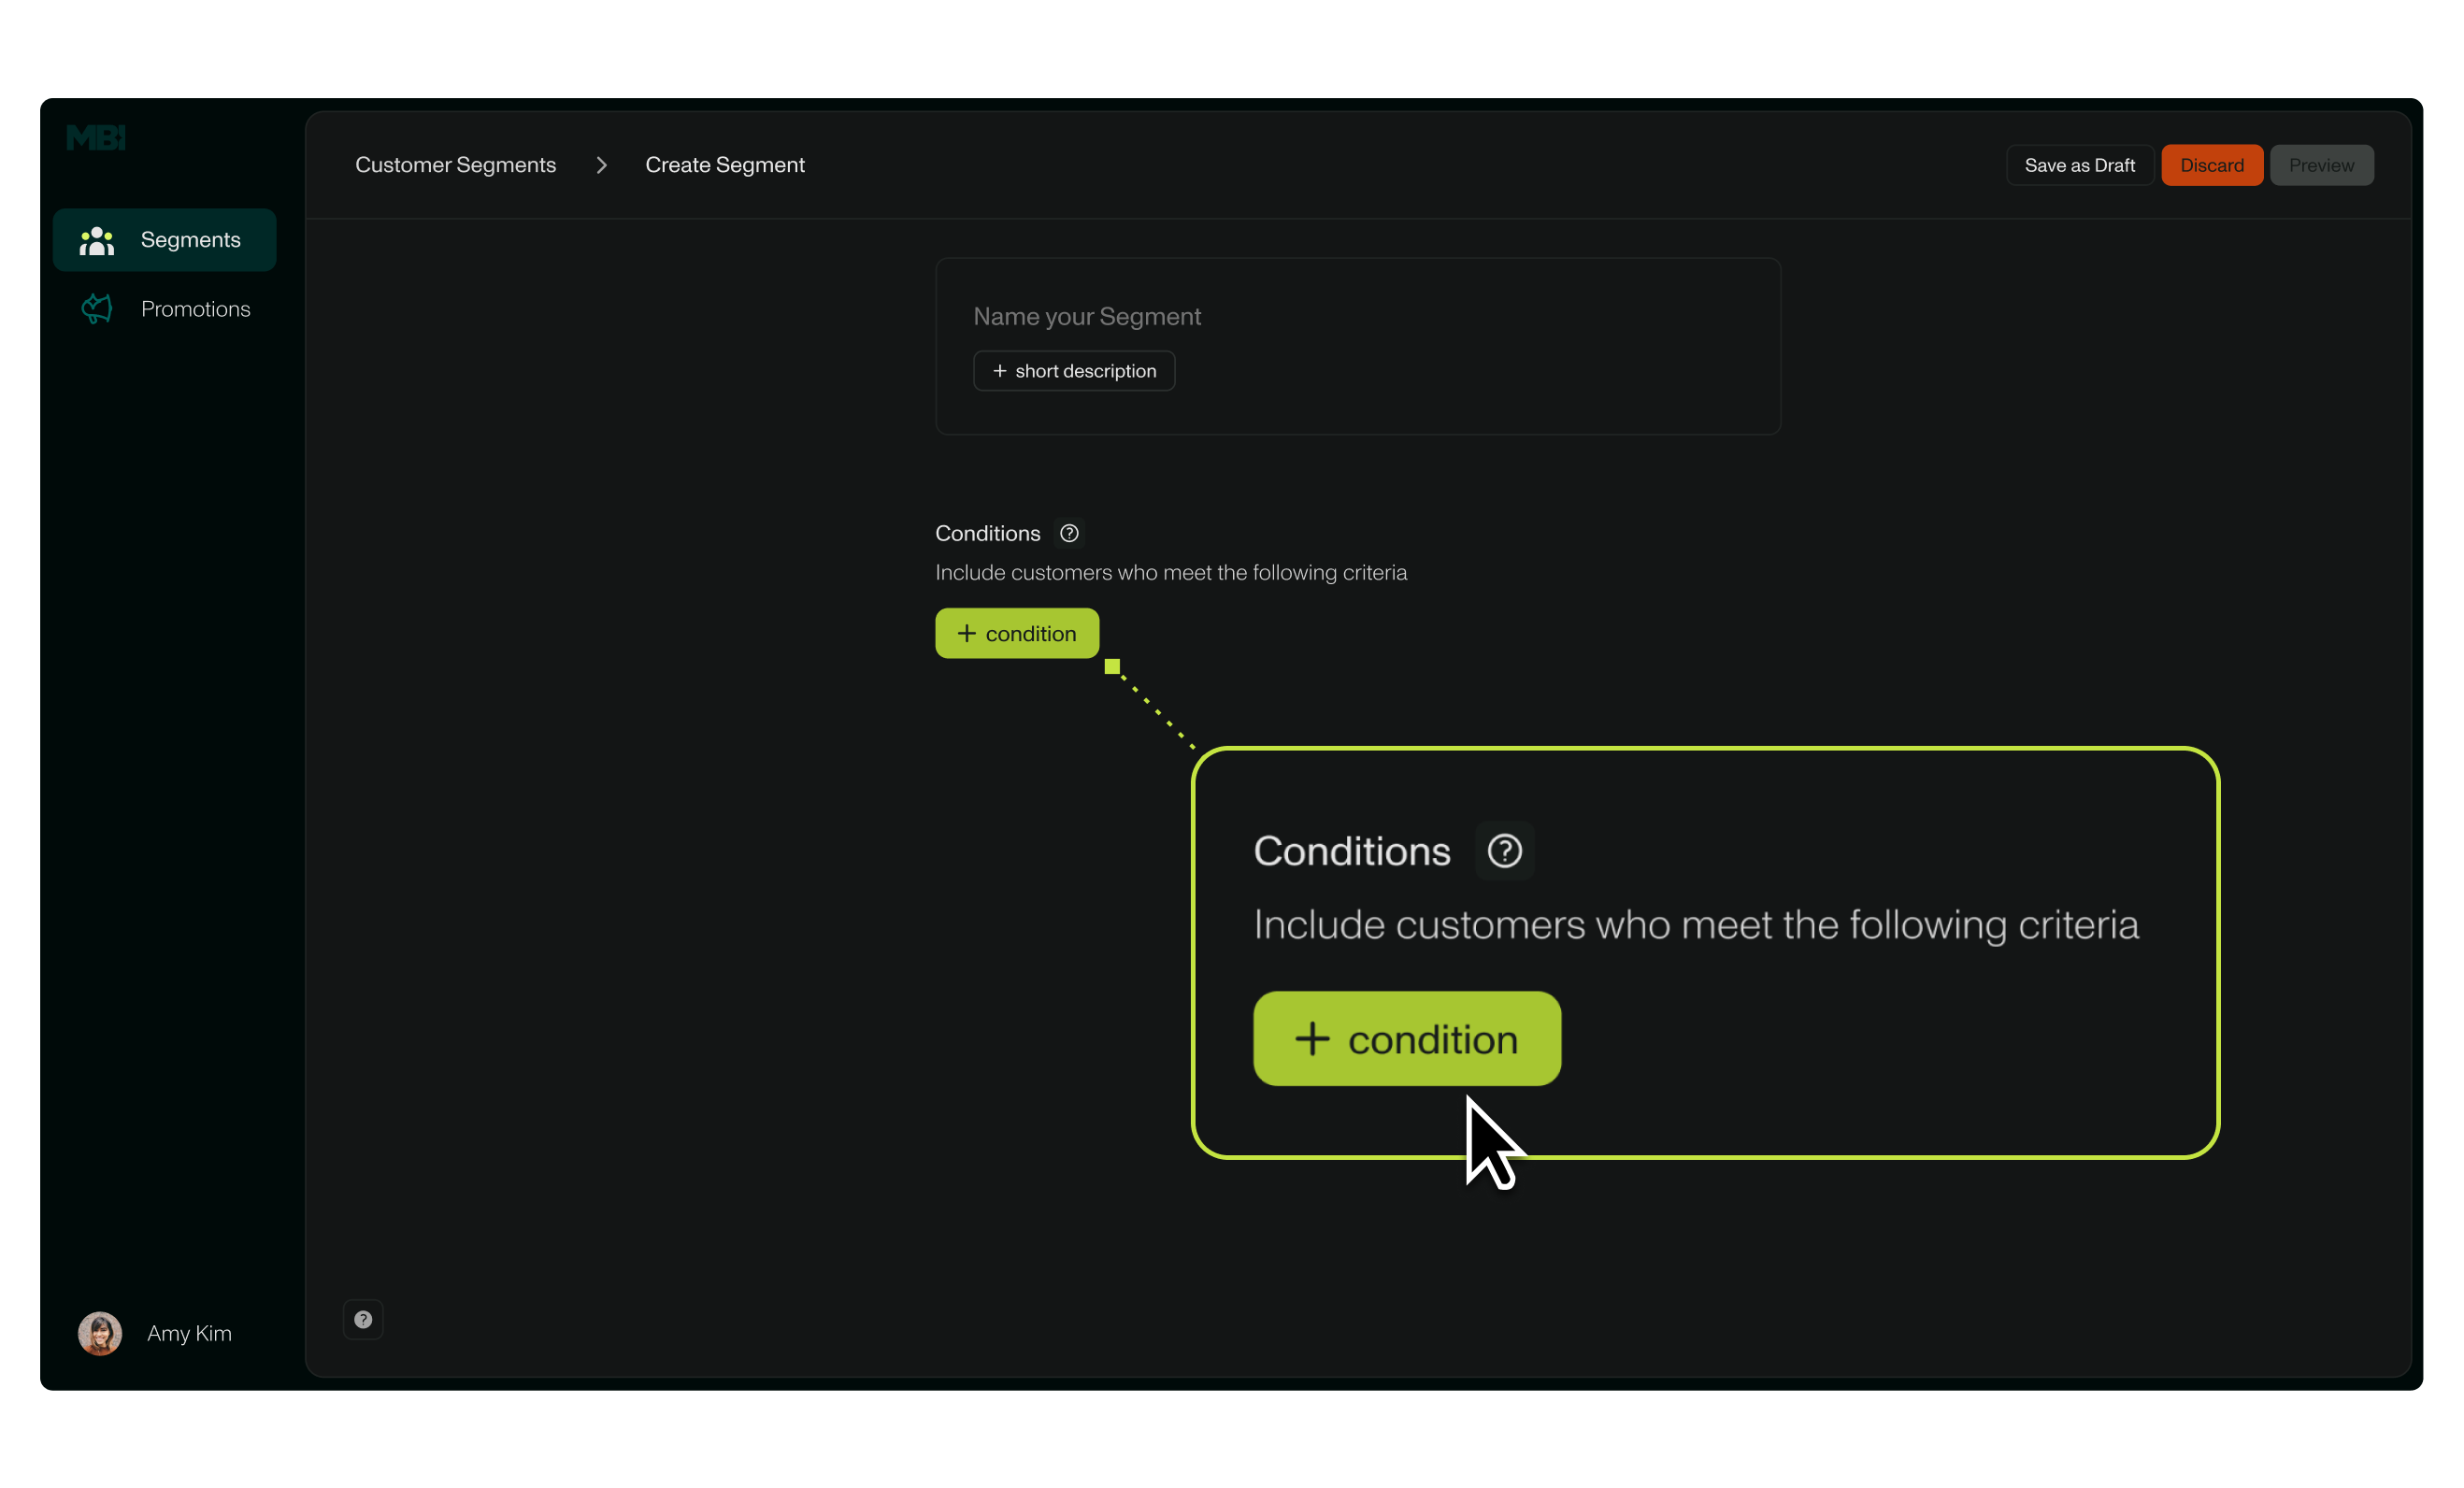
- Add a name and short description for the segment. You can always edit this later!
- Follow the steps in the modal to configure segment conditions. These conditions will determine which customers will be included in the segment based on various types of criteria (see Segment Conditions section below). Multiple conditions can be added to a segment.
- You can save or discard the drafted segment (options in the top right corner), or review the segment before finalizing the conditions by clicking Preview on the bottom right corner. The preview will detail the number of customers in the segment and provide a useful overview of the segment’s conditions.
- Once previewed, click Create Segment on the bottom right corner of the page.
- A segment can be edited, paused, deactivated,
Segment Conditions
Segment conditions provide a framework to help categorize customers within an institution by a set of defining attributes. Multiple conditions can be applied to a segment.
There are several types of conditions, outlined below:
- Tag: A tag is a label or identifier used to categorize or provide additional information about a group of customers. There are two categories of tags that we use: Promotional tags, or Organizational tags.- **Promotional tags **refer to a tag that is applied to a customer or group of customers that meet segment criteria. - For example: a customer segment received a bonus as a part of a Business Account promotion. All accounts that received this bonus will be applied with a tag, such as “Business Acct. Promotion”. You can then target this segment again in a future promotion with this tag, or exclude accounts that have this tag from future promotions.
- Organizational tags refer to internal tags that a company applies outside of the MBI platform. This could include tags (or ‘flags’) that target high-risk or fraudulent accounts.
- Product: Product can include customers who have open accounts under a certain product or are enrolled in a product/products.
- Balance: The current balance on a customer/group of customers’ accounts. Most commonly will be filtered by “more than” or “less than” criteria.
- Transaction: A customer group that expends a type of transaction and/or transaction amount (for example: ACH volume > $50K).
- Behavior: Customers who exhibit certain account activity that does not encompass (for example: customer has not logged in >30 days).
Managing Segments
A user can view, edit, and manage segments within a centralized hub under the Segments page in the MBI platform.
To edit a segment:
- Navigate to the Segments page on the left-hand menu.
- Click on the segment that you wish to edit, and then select the green Edit Segment button on the top right corner of the page.

Or,
- Navigate to the Segments page on the left-hand menu.
- In the table, locate the segment you wish to edit. Click on the three ellipses on the right side of the table.
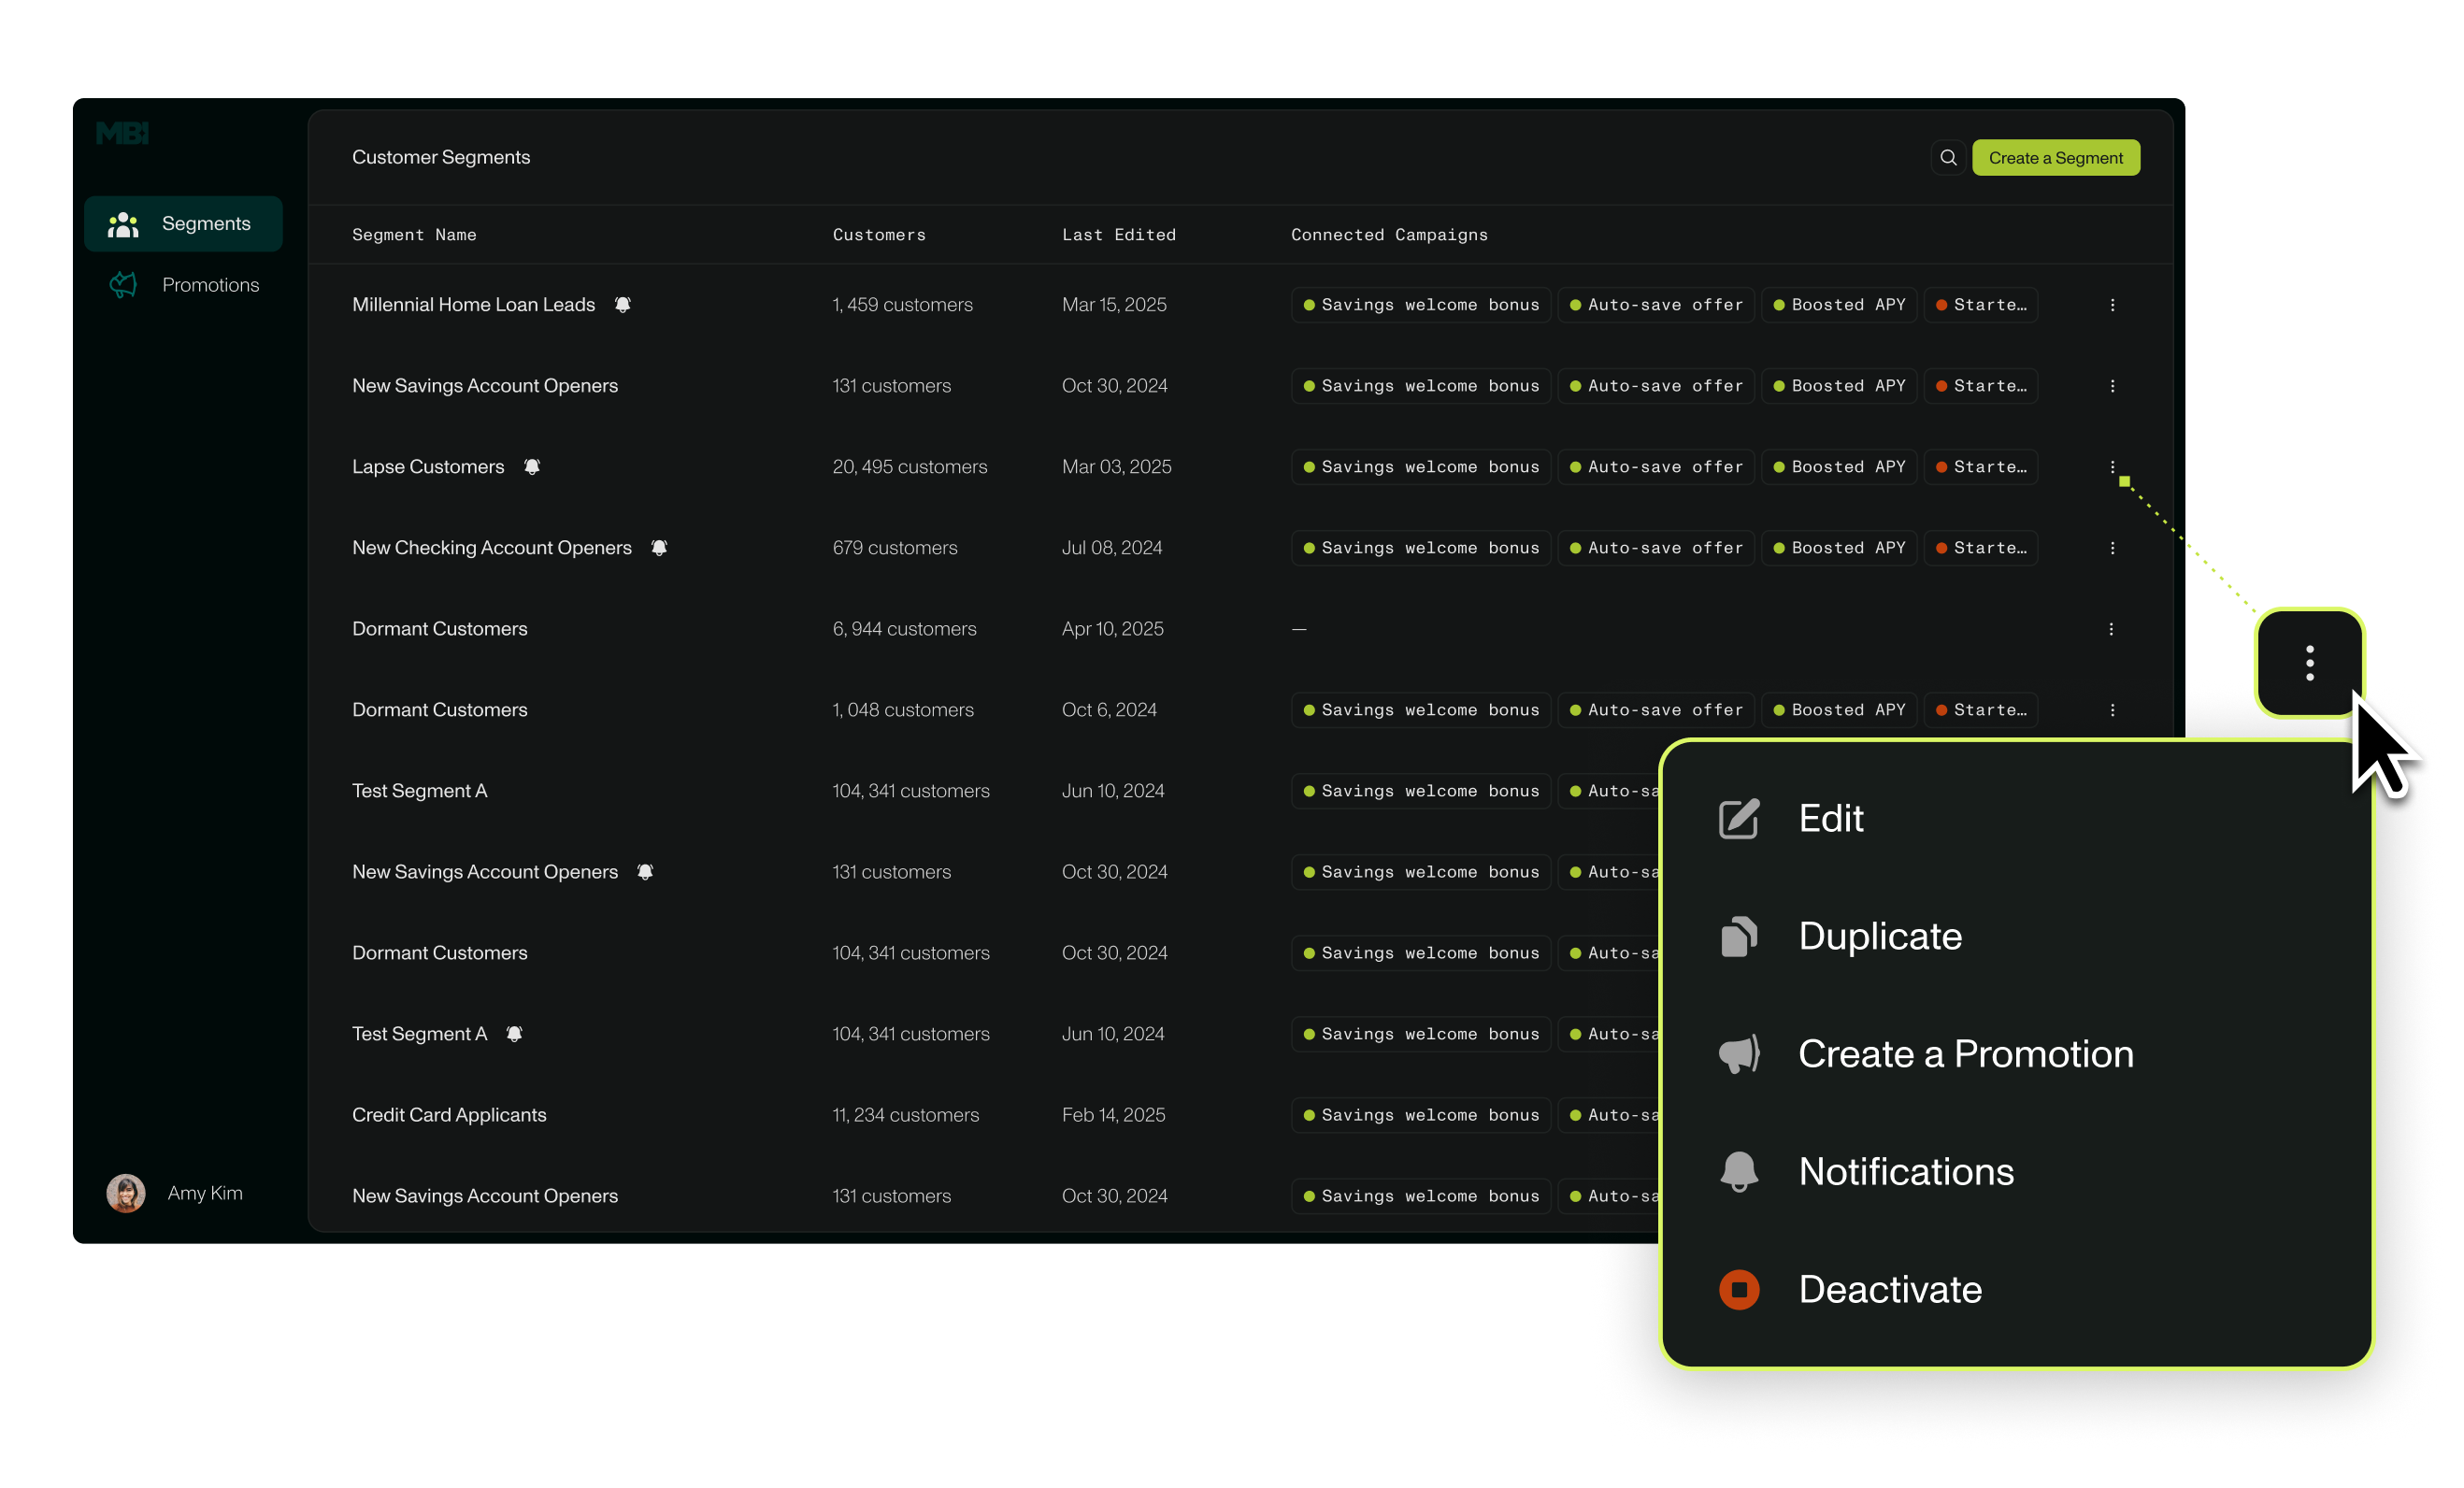
To manage other segment details and statuses:
- Navigate to the Segments page on the left-hand menu.
- In the table, locate the segment you wish to edit. Click on the three ellipses on the right side of the table.
- The menu will give you an option to duplicate, deactivate, and manage notifications for the segment. Additionally, you can begin building a promotion for this segment.